
Also, I didn't count how many stitches I did for the band, I just laid it up against the hat to see how long I wanted it, I was too tired of doing math in my head lol ;)


 I started off by cutting my wire into approximately 5" pieces. Fun tip for the day - if you don't have a ruler or measuring tape handy the middle section of your forefinger is almost exactly an inch. I did this to measure my pieces because I couldn't find a ruler or measuring tape at the time, thus the approximately 5". I then curved each piece into a circle, forming the ring.

 This part was difficult to hold everything together, hot glue, and take pictures, so there's not a whole lot of picture help for this step, but it's pretty self explanitory. As you could probably guess from the first picture you need to cut your flowers from the stem, not too close to the base of the flower though as you'll need something to hot glue to. Turn your flower upside down and place your ring on either side of the little remaining stem. Then simply hot glue all around both sides. Make sure it's well covered, I let each one dry and then checked for blank spots and filled in as necessary.

 You'll have to hold the ring upright for about a minute so they don't dry crooked. The only step I don't have pictures of, because I haven't done it yet, is trimming the excess stem you left from cutting the flowers off, and taking a small piece of felt, I'm going to be using green, and hot gluing it over the back so it hides the hot glue "glob" and flower stem. It also gives a smoother finish so the napkin ring won't catch on any napkin you should choose to use. That's tomorrow's project.
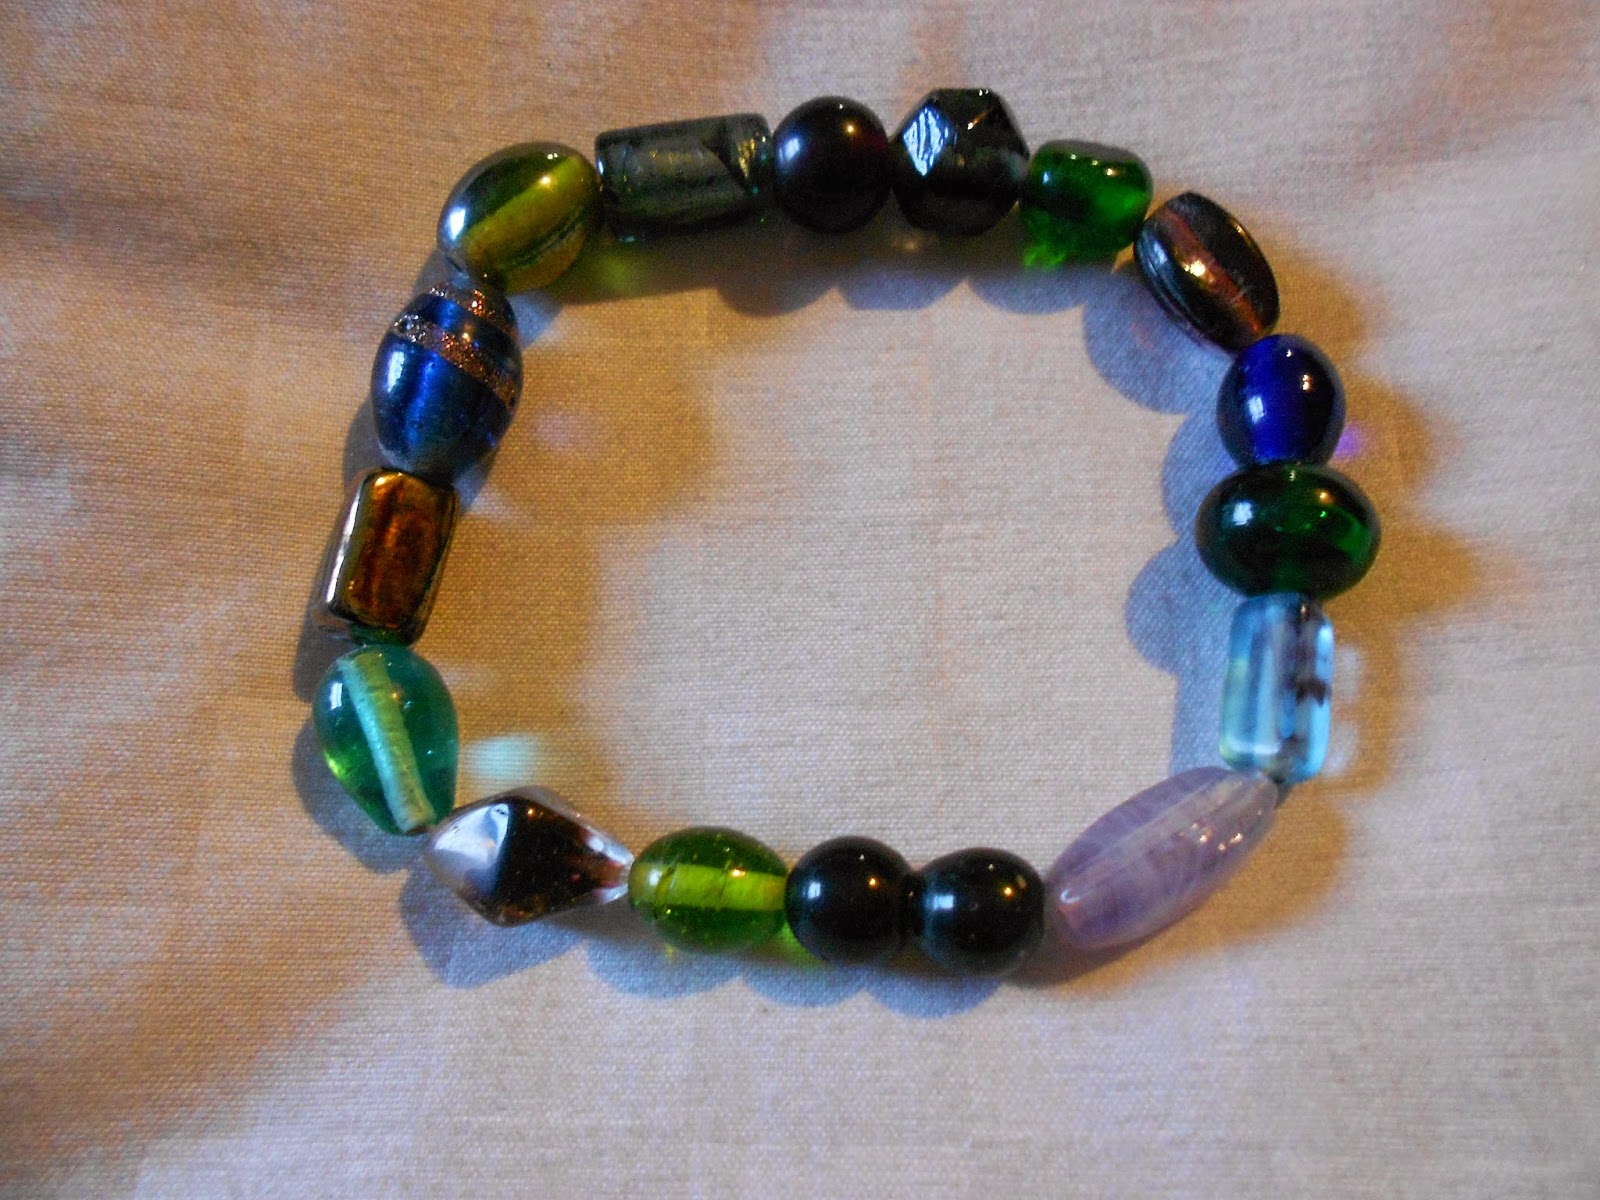
 I'd planned on doing it today but instead spent the whole day celebrating 3 years together with my wonderful boyfriend. Hopefully along with finishing up the napkin rings I'll also be putting up pictures of some jewelry I have for sale :) Until next time, happy crafting :)